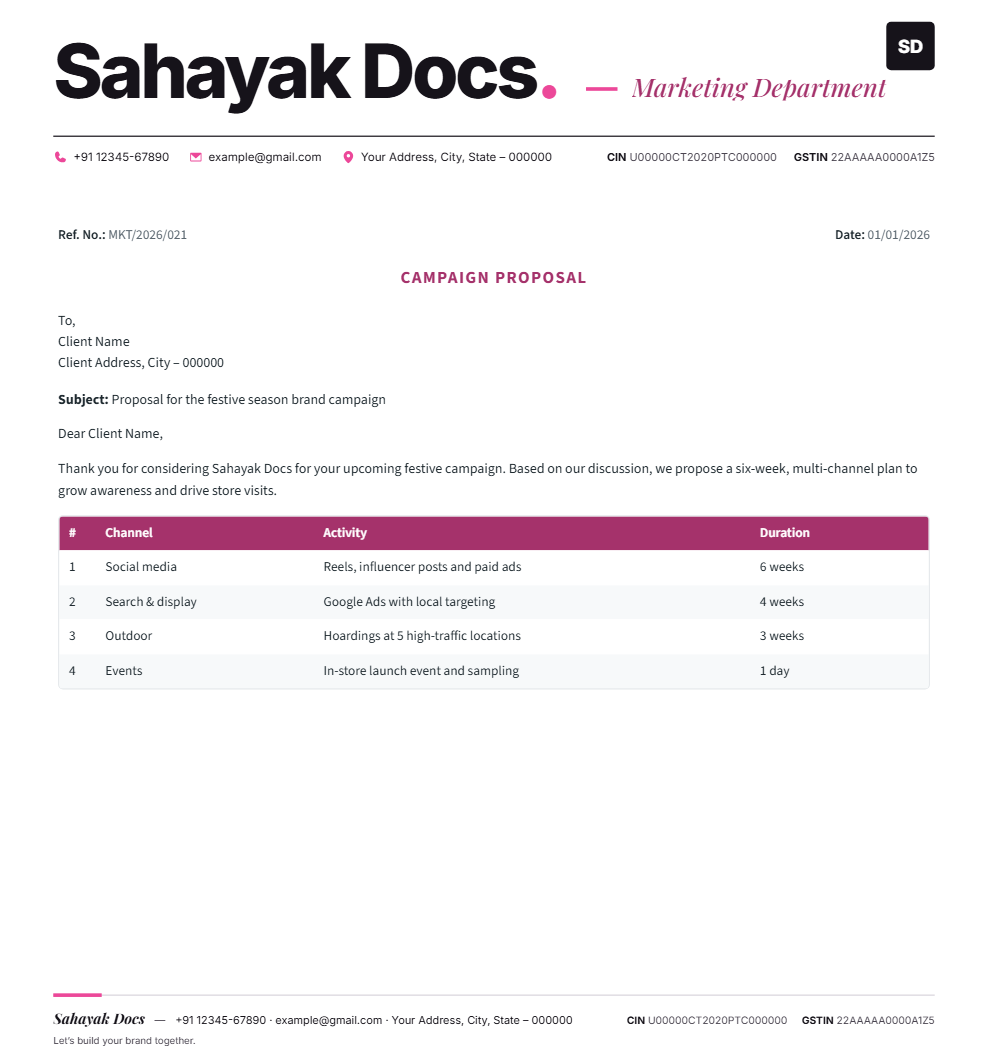
Once you have your header and footer as images, you can use them in everyday documents. Set it up once as a template, and every letter you write will carry your branding automatically.
Microsoft Word
- Open a new document and double-click the top margin to open the Header area.
- Go to Insert → Pictures and choose your header PNG.
- Drag the image corners so it spans the full page width.
- Double-click the bottom margin to open the Footer area and insert the footer PNG the same way.
- Save the file as a Word Template (.dotx) so you can reuse it for every letter.
Google Docs
- Open a new document and choose Insert → Headers & footers → Header.
- Insert → Image → Upload from computer, and pick your header PNG.
- Resize it to the page width, then do the same in the footer with your footer PNG.
- Reduce the page margins (File → Page setup) if the header looks too far from the edge.
- Make a copy of this document each time you write a new letter.
Tips for a clean result
- Download at high resolution so the images stay crisp when printed.
- Set the header and footer margins to around 0.5 cm for a full-width look.
- Export to PDF before emailing so the layout doesn’t shift on other computers.
Sahayak Docs exports header and footer PNGs at 3× resolution, so they stay sharp in Word and Google Docs.